
Disclaimer: This article is for general information only and does not constitute legal advice. Cannabis law in South Africa remains subject to legal, regulatory and policy developments. Consult a qualified South African legal professional for advice on a specific situation.
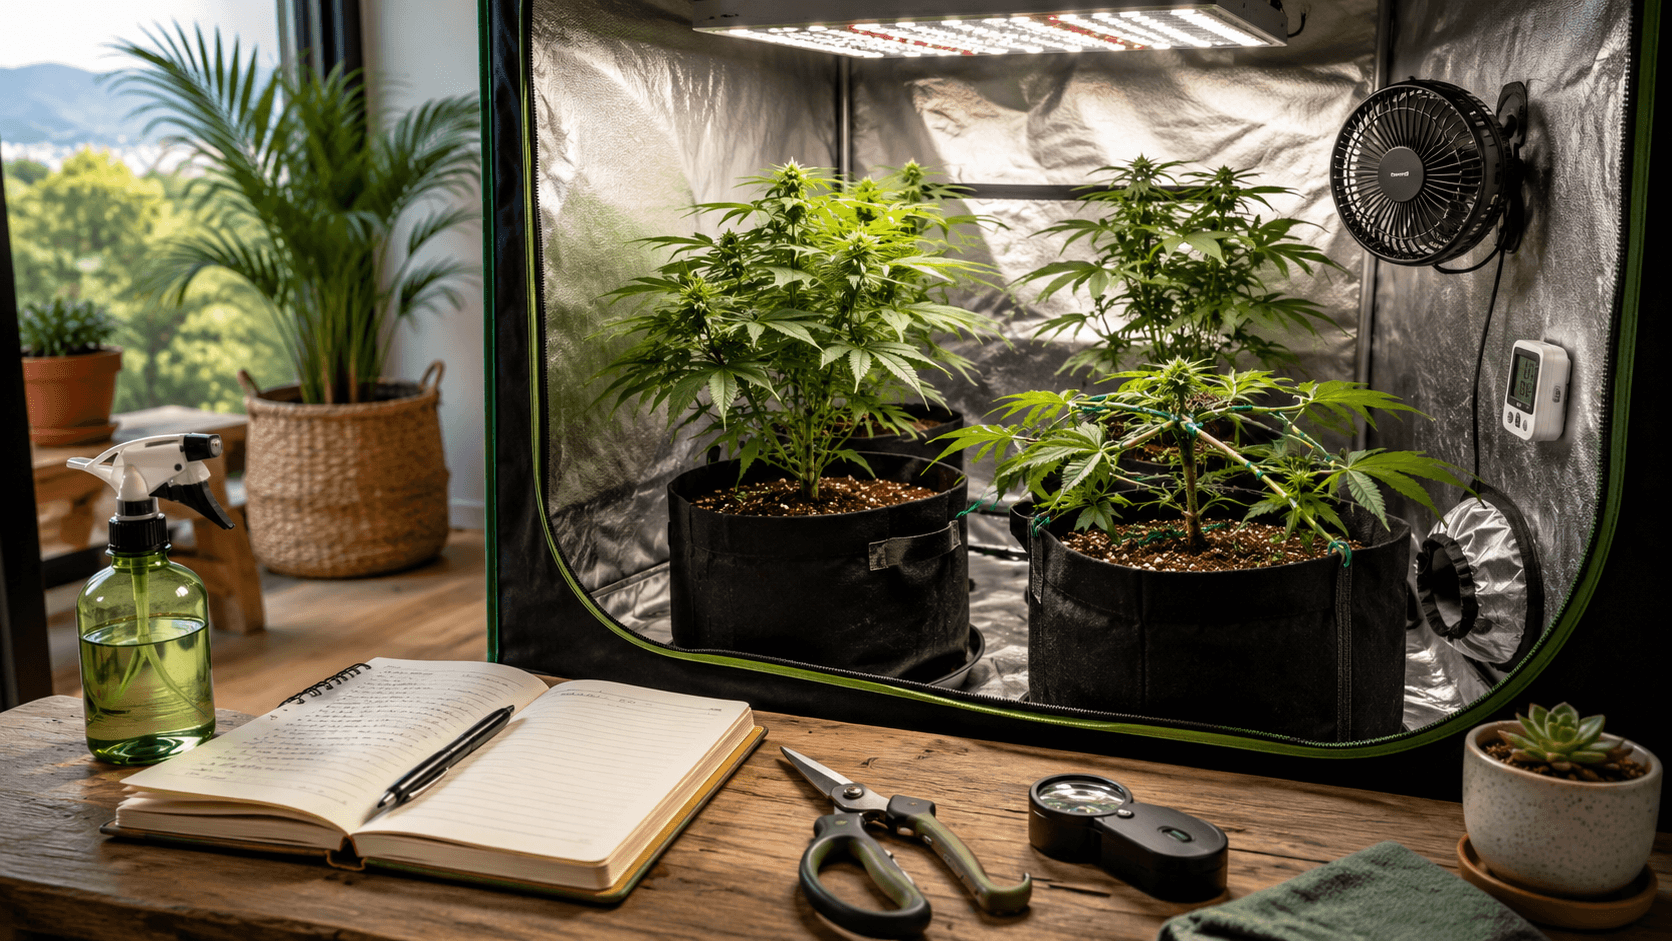
Six months after planting my first cannabis seed, I had already encountered most of the problems a new indoor grower hopes to avoid: unsuitable soil, poor airflow, excessive heat, pests, lighting mistakes, equipment failures and more.
Those setbacks were frustrating, but they were also valuable. Each one taught me something about planning, consistency and the importance of creating a stable growing environment.
This article brings together the most useful lessons from my first six months of indoor cultivation. It is intended for adults who are considering or already undertaking lawful, private cannabis cultivation.
Article Index
- Plan Before You Spend Money
- Indoor Cultivation Requires Time and a Realistic Budget
- Start With Suitable and Lawfully Possessed Plant Material
- Keep a Cultivation Journal
- The Growing Medium Is Fundamental
- Be Careful With Improvised Grow Enclosures
- Learn Canopy Management Early
- Measure Plant-Usable Light, Not Just Visible Brightness
- Light Distance Matters
- Understand Autoflowering and Photoperiod Plants
- Use Passive Pest Monitoring From the Beginning
- Climate Control Is One of the Most Important Variables
- Make Watering Practical and Safe
- Understand Propagation Before Depending on It
- Cleanliness Is Preventative Maintenance
- Maintain a Stable Lighting Schedule
- Test Your Timers Regularly
- Be Extremely Careful With Pest-Control Products
- Judge Harvest Readiness by Plant Maturity
- Treat Post-Harvest Cleanliness as Part of the Grow
- Store and Consume Responsibly
- Final Thoughts
1. Plan Before You Spend Money
Enthusiasm can make it tempting to acquire the first equipment you find. That approach often leads to unnecessary expenses, incompatible components and equipment that must later be replaced.
Begin by deciding how much space you have, how many plants you can lawfully and practically manage, and what environmental challenges the room may present. Consider lighting, ventilation, temperature, humidity, water access, drainage, electrical capacity and security before setting anything up.
Compare specifications rather than focusing only on price. A cheaper item is not a saving when it is unsuitable for the space or fails after a few weeks.
2. Indoor Cultivation Requires Time and a Realistic Budget
Indoor growing provides greater control over lighting and climate, but that control comes at a cost. The initial setup may include a suitable enclosure, lighting, ventilation, containers, growing medium, environmental monitors, timers, drainage equipment and basic plant-care tools.
The ongoing costs are equally important. Electricity, water, replacement filters, growing medium, maintenance and climate control can add up over time.
There is also a significant time commitment. Plants need regular inspection, and problems such as pests, excess moisture or equipment failure can become serious when ignored for several days.
Treat indoor cultivation as a technical hobby rather than a shortcut to inexpensive cannabis.
3. Start With Suitable and Lawfully Possessed Plant Material
Genetics influence plant structure, flowering behaviour, resilience, aroma, yield potential and cannabinoid profile. However, even strong genetics cannot compensate for an unstable environment or poor plant care.
Before beginning, research the characteristics of the cultivar you intend to grow. Consider its expected height, flowering time, sensitivity to stress and suitability for an indoor environment.
Only use plant material that you may lawfully possess. Do not assume that the legality of private cultivation automatically makes every method of acquiring, transferring or supplying plant material lawful.
For a new grower, managing a small number of plants is usually more valuable than attempting to maintain several different cultivars at once.
4. Keep a Cultivation Journal
One of the most useful decisions I made was keeping a journal during my first several months.
It does not need to be complicated. A spreadsheet, notebook or digital document can record:
- Important dates and growth stages
- Watering and feeding events
- Temperature and humidity readings
- Lighting adjustments
- Training or pruning
- Pest observations
- Plant responses and visible symptoms
- Equipment failures or power interruptions
A journal turns vague impressions into usable information. Instead of thinking that a plant looked better last week, you can review exactly what changed.
Photographs taken from a consistent position are also useful. They make it easier to compare growth and identify gradual changes that may otherwise go unnoticed.
5. The Growing Medium Is Fundamental
My earliest plants struggled because I assumed that ordinary potting soil would be sufficient. It was not well suited to the drainage, aeration and moisture-management requirements of the plants.
A suitable growing medium must balance several characteristics:
- Good drainage
- Adequate moisture retention
- Sufficient oxygen around the root zone
- Appropriate structure and stability
- A manageable nutrient profile
Avoid choosing a product simply because it is described as premium or organic. Understand what it contains and how it is intended to be used.
When using a pre-mixed medium, follow the manufacturer’s directions and avoid adding several amendments without understanding how they interact. More nutrients do not automatically produce healthier plants.
6. Be Careful With Improvised Grow Enclosures
I initially believed that building my own enclosure would save money. It ultimately cost more, created additional problems and was replaced by purpose-built equipment.
A suitable grow enclosure should provide enough height and working space for the plants, containers, lights, ventilation equipment and safe separation between the canopy and the light source.
Small enclosures become difficult to access and maintain. They also leave little room to correct excessive plant height or reposition equipment.
Improvised electrical, ventilation or structural solutions can create fire, moisture and safety risks. Any electrical installation should be appropriate for the expected load and protected from water. Where necessary, consult a qualified electrician rather than improvising.
7. Learn Canopy Management Early
Cannabis plants do not always grow into a shape that is convenient for an indoor enclosure. Some branches may stretch rapidly while others remain shaded below the canopy.
Low-stress training, often abbreviated as LST, is a method of gently guiding branches into a broader and more even structure. This can help manage height, improve access to light and reduce the risk of weak branches carrying too much weight.
Training should be gradual. Forcing a rigid branch too far can damage or split it. Use soft plant ties, inspect contact points regularly and loosen anything that begins cutting into the stem.
It is easier to shape a plant gradually than to correct excessive height after it has already reached the light.
8. Measure Plant-Usable Light, Not Just Visible Brightness
Human eyes are poor instruments for evaluating horticultural lighting. A light that appears extremely bright may still provide an uneven or unsuitable distribution across the canopy.
Basic lux or lumen meters can help identify obvious differences in coverage, but they do not provide a complete measurement of the light available for photosynthesis.
Where possible, use horticultural specifications such as photosynthetic photon flux density, commonly referred to as PPFD, together with the manufacturer’s coverage recommendations.
The practical objective is an even canopy receiving appropriate light intensity without excessive heat or stress.
9. Light Distance Matters
I damaged some of my first plants by placing the lights too close. Light stress may appear as bleaching, curling, dry leaf edges or damaged growth near the top of the canopy.
There is no universal distance that applies to every light. The appropriate height depends on the fixture, its power, the growth stage, the size of the illuminated area and the plant’s response.
Start with the manufacturer’s recommendations and observe the plants carefully after every adjustment. Increase intensity gradually rather than making large changes.
Also remember that light distance affects more than brightness. It may influence canopy temperature, water demand and the overall climate inside the enclosure.
10. Understand Autoflowering and Photoperiod Plants
Autoflowering and photoperiod plants behave differently, and the choice affects how a grow must be planned.
Autoflowering plants begin flowering largely according to age. They can be convenient where strict lighting control is difficult, but their limited vegetative period provides less time to recover from major stress.
Photoperiod plants respond to changes in the duration of uninterrupted darkness. They offer greater control over the vegetative period and can be maintained for propagation, but they require a stable and reliable lighting schedule.
Neither type is automatically better. The right choice depends on your environment, available space, experience and ability to maintain consistent conditions.
11. Use Passive Pest Monitoring From the Beginning
Sticky monitoring cards are inexpensive and useful for detecting flying pests before a large infestation becomes obvious.
Place them where they can be inspected easily, without allowing them to touch leaves or flowers. Check them regularly and record what appears on them.
Monitoring traps are not a complete pest-control strategy. Their main value is early detection. Finding a few insects early gives you more options than discovering a well-established population later.
Inspect the undersides of leaves as well as the growing medium and surrounding room. Many pests remain hidden until their numbers become significant.
12. Climate Control Is One of the Most Important Variables
Temperature, humidity and airflow influence plant growth, water use, pest pressure and the likelihood of mould.
The ideal range is not identical for every plant or growth stage. Rather than relying on one universal temperature or humidity target, monitor the environment and understand how the plants respond.
Environmental management may require:
- Air exchange
- Internal air circulation
- Heating or cooling
- Humidification or dehumidification
- Insulation from outdoor temperature changes
Measure conditions at canopy level rather than relying on a sensor positioned far from the plants.
Avoid directing a strong fan continuously at one part of a plant. The objective is gentle circulation throughout the enclosure, not constant wind damage.
13. Make Watering Practical and Safe
Carrying open buckets through a house or workspace quickly becomes inconvenient. It also increases the likelihood of spills near electrical equipment.
Plan how water will enter the room, how runoff will be collected and how spills will be handled. Use stable containers and suitable drainage trays, and keep electrical connections elevated and protected.
Watering equipment should be cleaned regularly. Standing water, dirty reservoirs and wet floors can encourage pests, odours and microbial growth.
Convenience matters because a process that is difficult or messy is less likely to be performed consistently.
14. Understand Propagation Before Depending on It
Vegetative propagation involves taking suitable plant material from a photoperiod plant and encouraging it to develop its own root system.
The process can preserve desirable characteristics, but it is not guaranteed to succeed. Young cuttings are sensitive to moisture loss, contamination and environmental instability.
Experiment on a limited scale before making propagation central to your cultivation plan. Maintain accurate labels and records so that plants are not confused.
Any propagation must remain within the legal rules governing possession, cultivation and plant material. Do not assume that transferring plants or cuttings to another person is automatically permitted.
15. Cleanliness Is Preventative Maintenance
A clean grow room does not guarantee that pests will never appear, but poor hygiene significantly increases the risk.
Clean and inspect the room before installing equipment. Remove unnecessary cardboard, dead plant material, standing water, dust and other places where pests or mould may develop.
Useful habits include:
- Cleaning tools before and after use
- Removing fallen leaves promptly
- Washing hands before handling plants
- Avoiding unnecessary traffic through the room
- Inspecting new equipment and materials before bringing them inside
- Cleaning spills immediately
Do not bring outdoor plants into an indoor grow space without careful inspection and appropriate quarantine.
16. Maintain a Stable Lighting Schedule
Plants respond best to consistency. Frequent interruptions, unexpected light exposure during dark periods or accidental schedule changes can cause stress.
Choose a lighting schedule appropriate to the plant type and growth stage, then maintain it reliably.
Check for light leaks if the enclosure must remain dark. Indicator lights from equipment, open doors and poorly sealed vents can all introduce unwanted light.
Where power interruptions are possible, decide in advance how you will respond. Avoid making repeated, improvised changes after every outage.
17. Test Your Timers Regularly
A timer is a simple component, but its failure can affect the entire grow.
Do not assume that a timer is operating correctly because its display looks normal. Observe the equipment switching on and off at the programmed times.
Recheck timers after:
- Power failures
- Electrical maintenance
- Schedule changes
- Moving equipment
- Clock or programming adjustments
Mechanical timers may be easier to inspect, while digital timers may offer additional functions. Reliability and electrical load capacity are more important than unnecessary complexity.
18. Be Extremely Careful With Pest-Control Products
Pest treatment is one of the areas in which careless advice can create serious health and plant-safety risks.
Do not apply a chemical simply because it was recommended in a forum or social-media post. Confirm that the product is lawful, appropriate for the intended plant and permitted for use on a crop that may later be consumed.
Read the complete label and follow its instructions, including dilution, protective equipment, application method, ventilation and withholding periods. Never assume that a natural or household product is automatically safe to inhale after application.
Avoid spraying flowers unless the product is specifically approved for that use. Residues, trapped moisture and contamination may make the harvested material unsuitable for consumption.
Prevention, sanitation, environmental control and early detection are preferable to aggressive chemical intervention.
19. Judge Harvest Readiness by Plant Maturity
Harvest timing cannot be determined accurately from the calendar alone. Cultivar, environment and plant health can all affect the flowering period.
Magnification is useful for examining trichome development and general flower maturity. However, a loupe or microscope does not directly measure THC or CBD content. Laboratory analysis is required to determine cannabinoid concentration accurately.
Harvest decisions should consider several indicators together:
- Trichome appearance
- Flower development
- Pistil changes
- Overall plant condition
- The expected characteristics of the cultivar
Do not rush the decision based on one photograph or a fixed number of days.
20. Treat Post-Harvest Cleanliness as Part of the Grow
Dust, insects and other contaminants may settle on flowers during cultivation. Some growers use a post-harvest washing process to remove surface debris.
If you choose to wash harvested material, research the method carefully and use clean water, clean containers and hygienic handling practices. Avoid harsh chemicals or improvised additives.
Washing introduces additional moisture, so drying conditions become especially important. Poor airflow or excessive humidity after washing may increase the risk of mould.
Post-harvest handling should be planned before harvest day. Prepare a clean, secure and well-ventilated drying area rather than trying to create one at the last minute.
21. Store and Consume Responsibly
A successful harvest creates responsibilities as well as rewards.
Store cannabis securely, clearly labelled and out of reach of children, animals and anyone who is not authorised to access it. Avoid containers that could be mistaken for ordinary food or sweets.
Do not drive, operate machinery or perform safety-critical work while impaired. Never consume cannabis around children or non-consenting adults, and do not pressure anyone else to use it.
Pay attention to your own consumption. Increased availability can make it easy for occasional use to become frequent or disruptive. If cannabis begins affecting your health, motivation, relationships, finances or work, reduce your use and seek appropriate professional support.
Final Thoughts
My first six months of indoor cultivation involved far more troubleshooting than I expected. The biggest lesson was that successful growing is not based on one product, nutrient or technique. It comes from maintaining a stable system.
Good records, appropriate equipment, clean working practices and regular observation are more valuable than constantly changing methods.
Start small, correct problems methodically and avoid treating every symptom with another product. Most importantly, remain informed about the law and ensure that every part of your cultivation, storage and use is private, responsible and compliant.